
Nothing to install
It opens in your browser like any web page. No download, no licence key and no graphics-card checklist.
Mad Genius AI PREVIS is a user-friendly, lightweight 3D pre-visualization tool that runs online, made for people who are not 3D artists. There is no 3D software to install. Upload your own 3D models or block out a scene with simple grey ones, move a virtual camera through it, and export a reference clip and a ready-made prompt for AI video tools such as Seedance and Kling Omni.
Free to build and preview. No install, no 3D experience needed. Works with GLB, FBX, OBJ, STL and USDZ files.
Tools like Blender, Maya and Unreal are powerful, and take months to learn. This does one job, planning a shot, and you can do it on your first visit.
It opens in your browser like any web page. No download, no licence key and no graphics-card checklist.
Pick a shape from a menu, drag it into place, and move the camera with your mouse. There is no modelling, rigging, lighting or texturing to learn.
The whole app is under one megabyte, so it loads in a second or two. Your scenes are saved for you as you work.
Ask an AI video model for “a slow push-in that drifts left” and it has to guess what you mean. Give it a reference clip of exactly that move and it can follow it.
That is what previs is for. You stage the shot in plain grey 3D, where changing your mind costs nothing, and render the camera move as a short video. The look, the characters and the setting still come from your prompt; the clip only carries the camera.
Drag the handle: the grey 3D previs on the left, the final AI video it guided on the right.
Four steps from an empty floor to a camera reference your video tool can follow.
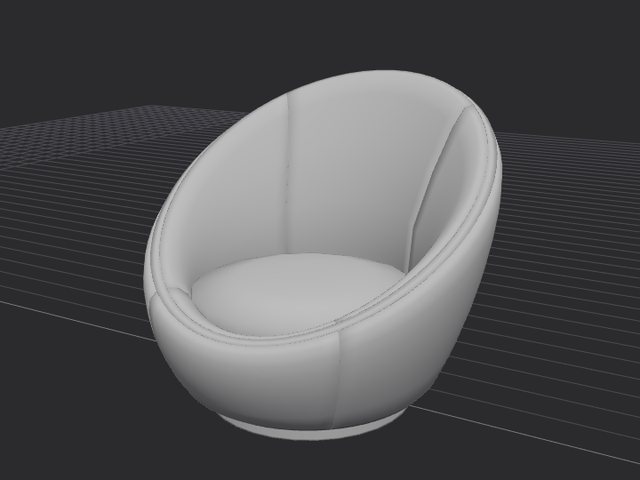
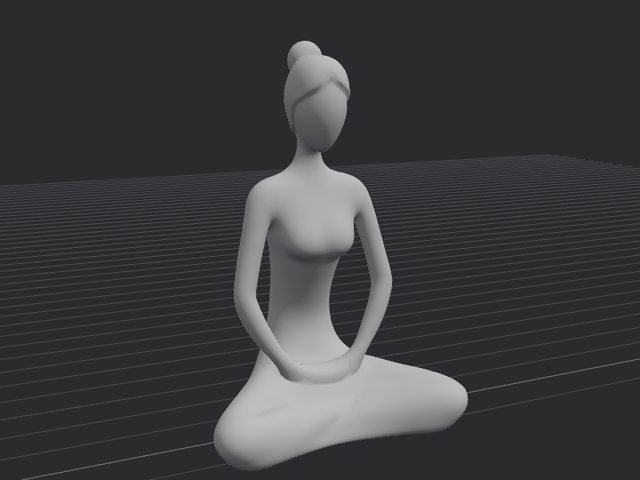
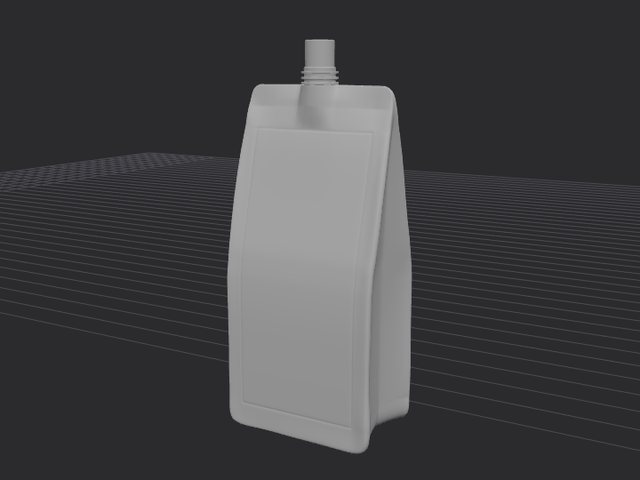
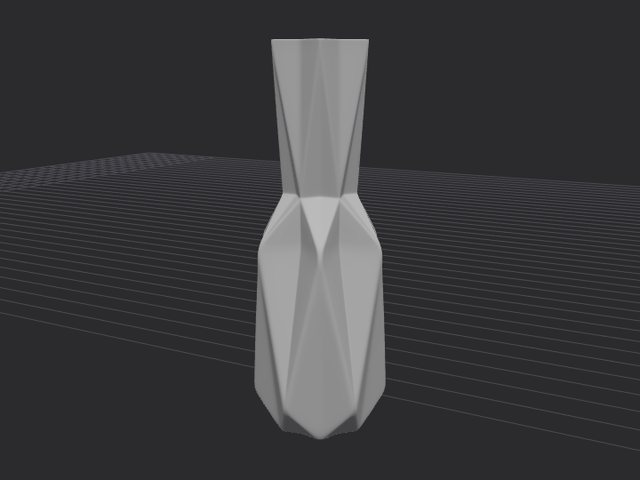
You are not limited to grey boxes. Drop in the actual car, aircraft, product, character or building from your project, and plan the shot around the real thing. The camera move you render then fits its true shape and size.
Open the app on an iPhone or iPad and switch on Motion camera. The device becomes a handheld camera inside your 3D scene: turn it and the view turns with you. It is motion capture for the camera, with nothing to buy and nothing to set up.
Built around the way film crews plan shots, without the weight of a full 3D package.
Frame a shot, add a keyframe, reframe, add another. The camera glides through them, with the timing of every leg under your control.
Orbit, pull-back, rocket, push-in, dolly zoom, crane, Dutch roll and whip pan, each applied in one pick and adjustable in length and amount.
Click any part of a model and the camera stays on it. Spotlight keeps it centred, ActiveTrack travels with it, POI circles it.
On an iPhone or iPad, hold the device like a camera and turn it to aim. Record the movement, then render it as a clean clip.
Build a set in seconds from figures, boxes, walls and floors. Figures can stand, sit, point, walk and run, and any piece can be stretched, turned and resized.
Give any model its own keyframes: straight or curved paths, eased starts and stops, turning to face where it is going. Group models so they travel together.
See the whole set from above and from the side, and drag models, the camera and keyframes into place with precision.
Focal lengths from 10 to 300 mm, a roll control for Dutch angles, and optional handheld shake.
Every frame is drawn and written to an MP4 at 30 frames a second, up to 1080p, in 16:9, 9:16 or 1:1. No dropped frames.
One click describes the move in plain film language, as a full prompt with timed beats or just the camera section.
Rule-of-thirds and safe-area overlays help you compose, and never appear in the export.
Every change can be undone, your work is kept between visits, and a scene saves to a single file with its models inside.
Each of these opens in the app, ready to play. Change anything you like.
Try everything before you decide.
The short answers.
Previs, short for previsualization, is planning a shot before you make it. Film crews block out scenes with simple grey 3D models to decide where the camera goes and how it moves. Mad Genius AI PREVIS brings that step to AI video: you plan the camera move in 3D first, then hand the result to the video model.
Any tool that accepts a reference video for camera movement. The export presets and the prompt layout are built around multi-reference video generation, such as Seedance 2.0 and 2.5, Kling Omni and others, and the clip itself is a standard MP4 you can use anywhere.
No. You add ready-made grey pieces (a figure, boxes, walls, floors), drag them into place, and move the camera with the mouse. There is no modelling, lighting or texturing to learn.
GLB, GLTF, OBJ, FBX, STL and USDZ. Animations that come with a file can be played, and any model can be shown as plain grey clay.
Motion camera mode is made for iPhone and iPad: you hold the device like a camera and turn it to aim. The full editor is designed for a desktop or laptop screen.
No. Your scenes and 3D models stay in your own browser and are saved there automatically. You can also save a scene to a file on your computer. Signing in is only used to identify your account.
Building and previewing scenes is free and needs no account. Exporting a clip, a frame or a prompt asks for a free Google sign-in during early access. A paid plan at $10 a month with a 7-day free trial is planned.
Your first reference clip is a few minutes away.
Open the app